Key Takeaways (TL;DR):
- Stress testing reveals hidden factory defects in components that are not visible during normal operation.
- Testing under 100% load ensures system stability and prevents overheating in the most demanding games of 2026.
- Testing helps identify and eliminate bottlenecks, where one component prevents another from reaching its full potential.
- Proper fan curve tuning after testing ensures not only low temperatures but also acoustic comfort during gameplay.
Stage 1: Testing the System's 'Brain' — Processor and RAM
First, we check the stability of the central processor and RAM. This is the foundation of the entire system. We use specialized software like Prime95, AIDA64, and Cinebench R26 to load all processor cores to 100% for at least 60 minutes. During this test, we monitor:
- Temperature: It should not exceed 90-95°C to avoid throttling (forced frequency reduction).
- Frequency stability: The processor must maintain its declared Boost frequency without sharp drops.
- Voltage (VCore): Absence of critical drops, which could indicate problems with the motherboard or PSU.
Simultaneously, we run a test on the DDR5 RAM using MemTest86+ or AIDA64's built-in tools. We verify that the activated XMP/EXPO profile runs without errors. Any memory error can lead to data corruption or blue screens of death. Below is a table showing how the choice of cooling affects the new Intel Core Ultra 7 275H.
| Cooling System | Idle Temperature (°C) | Prime95 Temperature (°C) | Noise Level (dBA) |
|---|---|---|---|
| Intel Stock Cooler | 48 | 99 (throttling) | 55 |
| Tower Cooler (4 heatpipes) | 39 | 88 | 42 |
| Liquid Cooling System (240mm) | 34 | 76 | 38 |

| Purpose | Recommended Graphics Card | Processor | Approximate Budget (UAH) |
|---|---|---|---|
| Full HD (1080p) @ 144+ Hz | GeForce RTX 5060 12GB | Intel Core Ultra 5 250H | 55,000 - 65,000 |
| 2K (1440p) @ 120+ Hz | GeForce RTX 5070 16GB | AMD Ryzen 7 9700X | 90,000 - 110,000 |
| 4K (2160p) @ 60+ Hz | GeForce RTX 5080 20GB | Intel Core Ultra 9 290K | 140,000 - 180,000 |
Stage 2: Graphics Card Testing — Guaranteeing High Frame Rates (FPS)
The graphics card is the most important component for a gamer. To test it, we use synthetic benchmarks and real-world game benchmarks. The main tools are 3DMark (Time Spy Extreme, Port Royale for ray tracing) and FurMark. The test cycle lasts at least 2 hours. We pay attention to:
- GPU and Hot Spot Temperature: The difference between them should not be abnormally large, which indicates the quality of the thermal interface.
- Visual Artifacts: Any visual distortions suggest problems with the video memory or the chip itself.
- Coil Whine: We select units with the minimum level of this acoustic noise.
- Performance: We compare the scores and frame rates (FPS) with reference values to ensure there are no issues.
Special attention is paid to the performance of new technologies like DLSS 4.0 with Frame Generation. Here is the approximate performance of a build with Ryzen 7 9700X and GeForce RTX 5070 at 2K (1440p) on ultra graphics settings.
| Game (2026) | Resolution | FPS (DLSS Quality) | FPS (DLSS Performance) |
|---|---|---|---|
| Cyberpunk 2077 | 1440p | ~100 FPS | ~145 FPS |
| GTA VI | 1440p | ~85 FPS | ~130 FPS |
| Counter-Strike 2 | 1440p | 400+ FPS | 500+ FPS |
Stage 3: Comprehensive Load — Testing the Power Supply and Storage
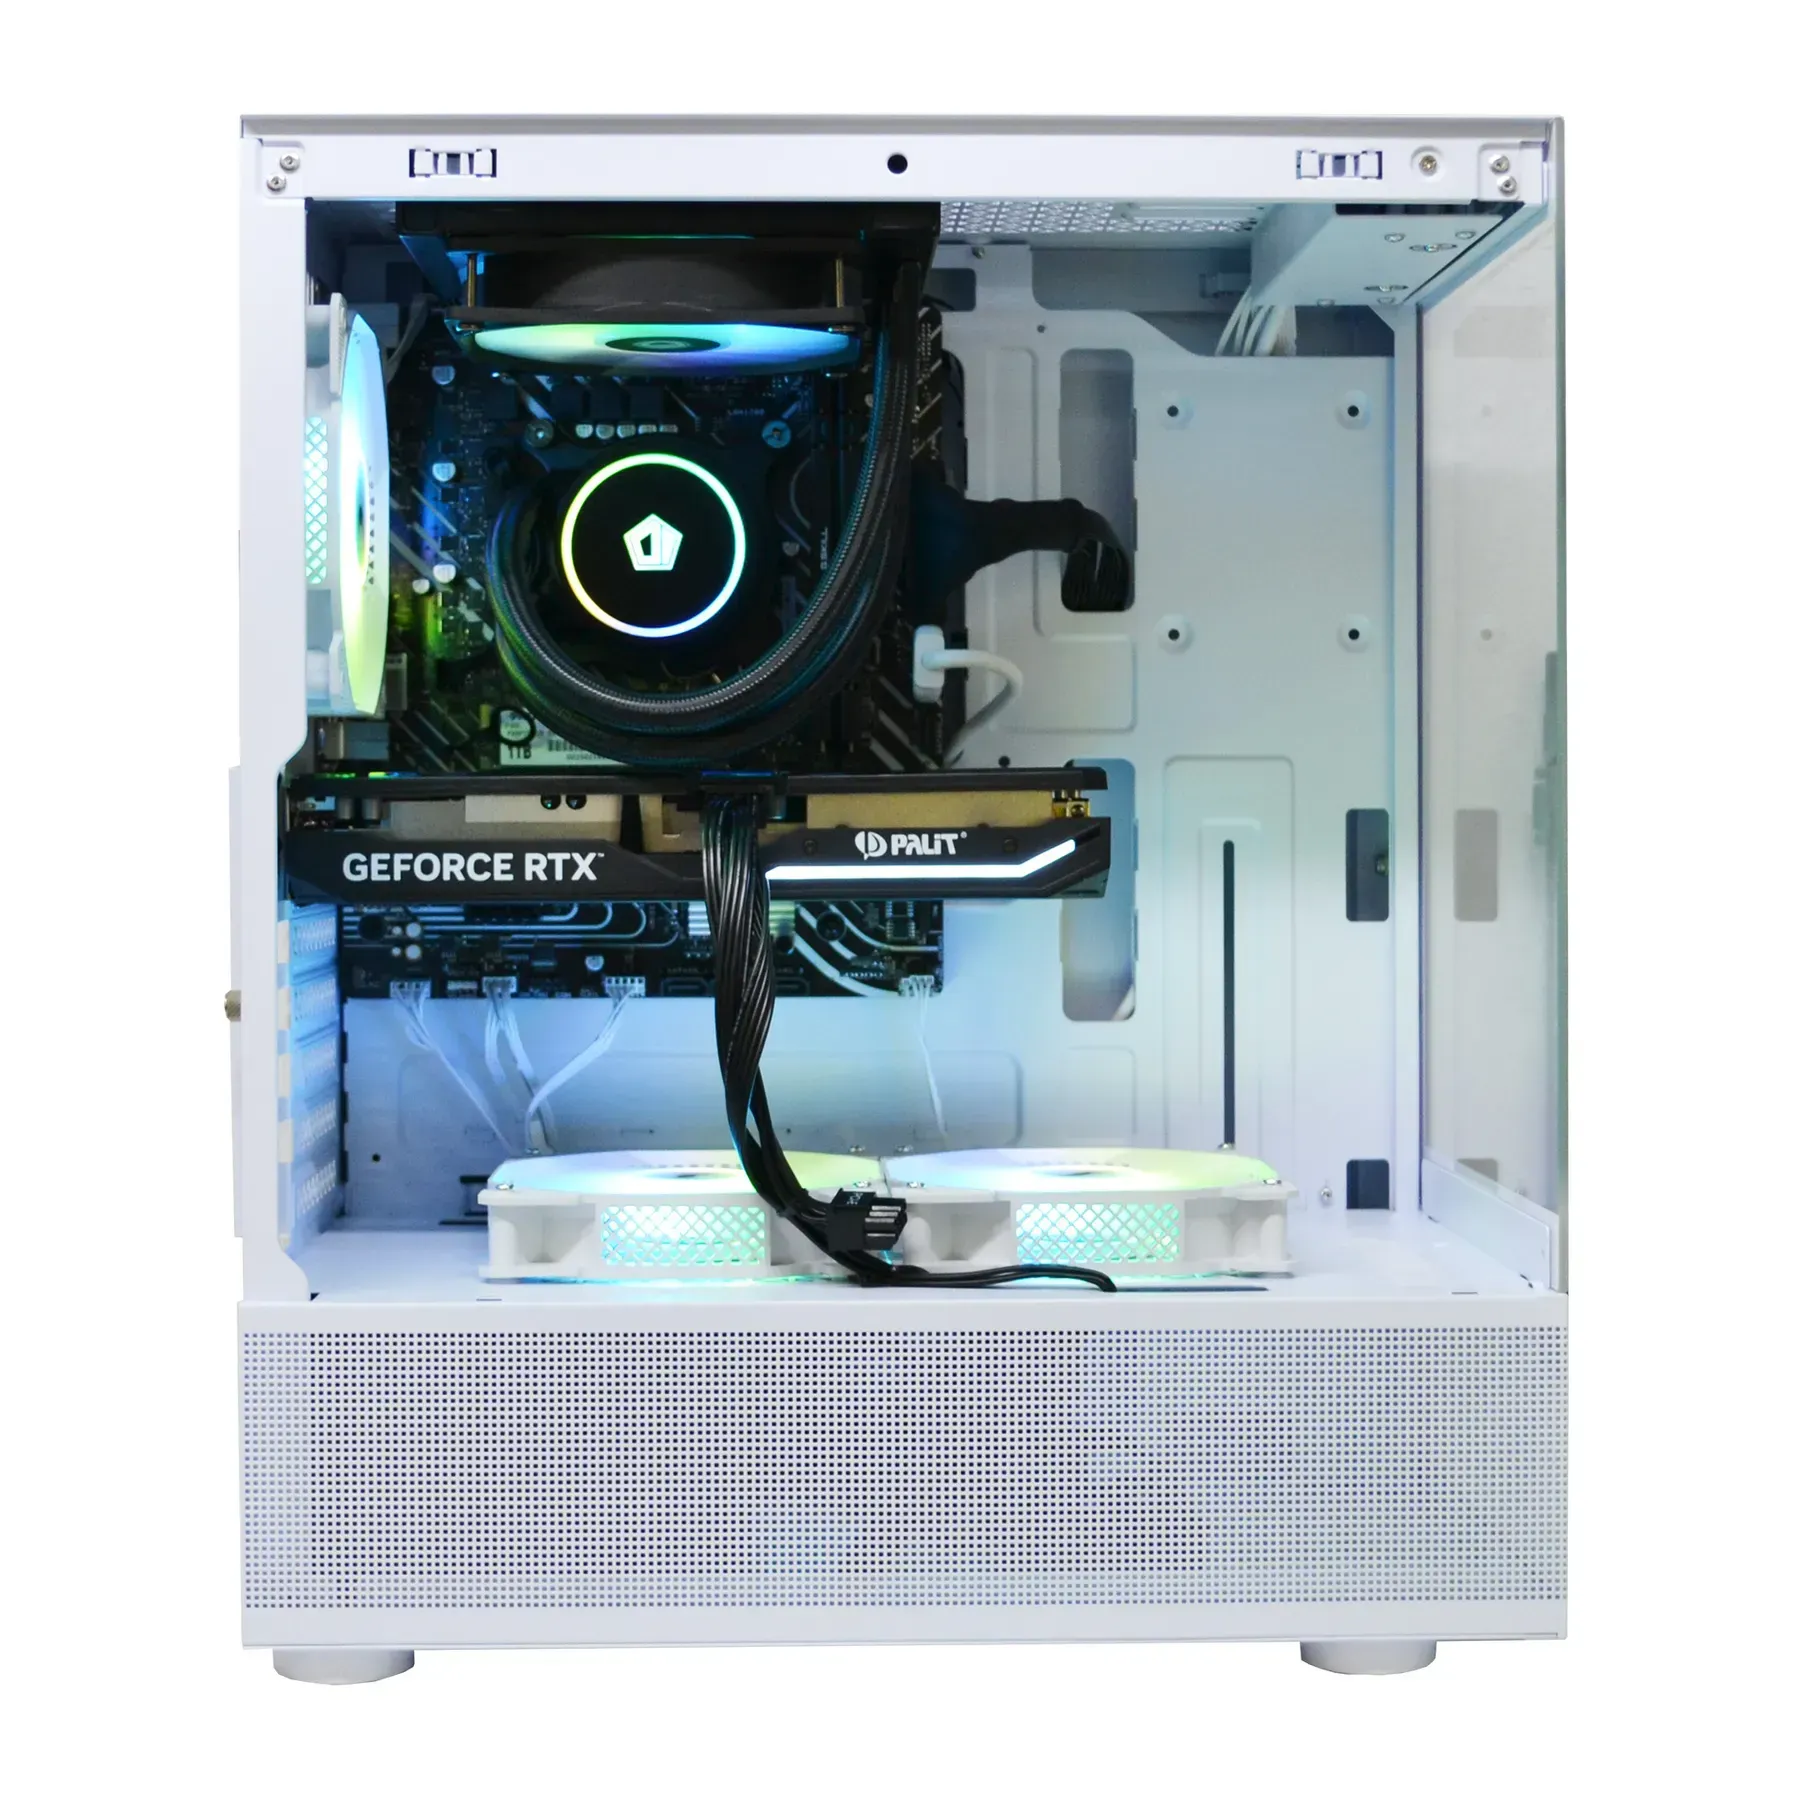
The most challenging stage is loading the processor and graphics card simultaneously. This simulates the peak power consumption in the most demanding game. We use the OCCT Power Test, which pushes the system to its limits. This is where the most underestimated component is tested — the power supply with an 80 Plus Gold certificate or higher. If the PSU is of poor quality, it won't be able to provide a stable voltage on the 12V rail, which will lead to a reboot or shutdown of the PC. We allow voltage drops of no more than 2%. We also check the speed of NVMe SSDs using CrystalDiskMark to ensure they meet the manufacturer's specifications, as the loading speed of games and levels directly depends on this. All component specifications must match the declared ones, for example, according to Intel's specifications for processors.

Stage 4: Cable Management and Cooling Tuning for Silence
Once we have confirmed the hardware's stability, the fine-tuning stage begins. Performance is important, but playing next to a system unit roaring like a jet engine is uncomfortable. PowerUp engineers pay great attention to two things:
- Perfect cable management: All wires are neatly arranged and hidden. This is not only aesthetically pleasing but also crucial for free airflow inside the case. Poor cable management can raise temperatures by 5-7°C.
- Fan curve tuning: We adjust the rotation speed of the case and CPU fans in the BIOS/UEFI. The goal is to find a balance where the computer is almost silent at idle, and under load, the noise level remains within comfortable limits (up to 45 dBA) without allowing overheating.
As a result, you get not just a set of components, but a fully tuned ready-to-play gaming PC that will delight you with its performance and silence for years to come. For maximum performance, we always use only the best DDR5 RAM with proven compatibility.

Pros and Cons of Professional Stress Testing
Advantages
- ✔Guarantees 100% system stability in any task.
- ✔Identifies hidden factory defects before the PC is shipped to the client.
- ✔Optimizes the cooling system for maximum performance and silence.
- ✔Verifies the real power output of the power supply and its ability to handle peak loads.
Disadvantages
- ✖The process takes 4 to 8 hours of engineering time.
- ✖Creates an extreme but controlled load on new components.
- ✖Slightly increases the final cost of the build due to labor.
How to Perform a Basic Stress Test on Your PC Yourself
This guide will help you check your computer's main components for stability and overheating using free and accessible software.
Step 1: Installing the necessary software
Download and install three programs: HWiNFO64 for monitoring all system sensors (temperatures, frequencies, voltages), OCCT for comprehensive testing, and 3DMark Basic Edition for testing the graphics card.
Step 2: Preparing for monitoring
Launch HWiNFO64 in 'Sensors-only' mode. Find your CPU temperature (CPU Package) and GPU temperature (GPU Temperature, Hot Spot) in the list. Position the program window so you can see these values during the test.
Step 3: Testing the processor
Open OCCT. Go to the 'CPU' tab and select the standard test. Run it for 30 minutes. Monitor the processor temperature in HWiNFO64. If it approaches 100°C or the test reports errors, stop it immediately.
Step 4: Testing the graphics card
Launch 3DMark and select the Time Spy test. Run it once. If the test completes successfully and you don't notice any artifacts on the screen (distorted textures, colored dots), your graphics card is likely fine.
Step 5: Comprehensive load test
Go back to OCCT and switch to the 'Power' tab. This test will simultaneously load the processor and graphics card. Run it for 15-20 minutes. If the computer doesn't shut down or restart, your power supply is handling the load.
Step 6: Analyzing the results
If all tests passed without errors, overheating (CPU < 95°C, GPU < 85°C), or sudden shutdowns, your computer can be considered stable. If problems arose, it's a reason to check the cooling system or consider replacing the power supply.

Frequently Asked Questions (FAQ)
How long does a full stress test at PowerUp take?
A full testing cycle for one computer takes from 4 to 8 hours, depending on the configuration. This includes both automated tests and manual verification by an engineer.
Is stress testing harmful for brand new components?
No. A stress test simulates a peak but standard load that the components are designed for. It helps to identify factory defects at an early stage, before they manifest at your home. It is a controlled process with constant temperature monitoring.
What is throttling and why is it bad for a gamer?
Throttling is a protective mechanism where the processor or graphics card automatically reduces its operating frequencies due to overheating. For a gamer, this means a sharp and sudden drop in FPS, leading to lags and freezes in the game.